Setup and Analysis of Your Watch Using the ONEOF Accuracy2
Step 1 – Download and Install App
Before getting started, make sure you have downloaded and installed the ONEOF Accuracy App for your smartphone.
Download the Android app (.apk)
Step 2 – Connect Device
Make sure you have the App open and connect your smartphone or tablet to the Accuracy2 using the provided connectors. Connecting the device will unlock the App.
Step 3 – Wind Up Watch
If the watch is equipped with a screw-down system, unlock the crown. Fully wind up the watch by turning the crown clockwise.
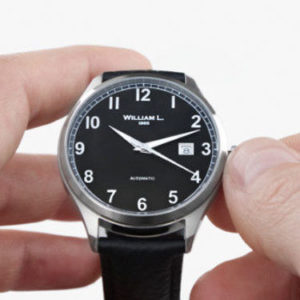
Step 4 – Place Watch on Sensor
Place the watch on the sensor. The crown should be placed in the center of the ONEOF logo.

Step 5 – Run Analysis
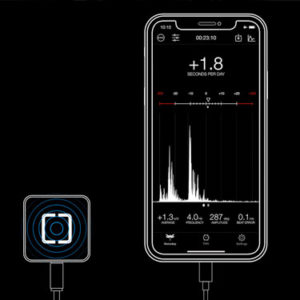
The App detects the presence of the watch and starts its initializing process. The frequency is automatically computed after a few seconds only. The accuracy of the watch is displayed at the top of the screen after 2 to 60s, depending on the time integration chosen in the settings. The measurement will continue unless the watch is removed from the sensor.
Analysing the Results
Measurement Display
The accuracy of the watch is displayed at the top of the screen after 2 to 60s, depending on the time integration chosen in the settings.
The measurement will continue unless the watch is removed from the sensor.
Vibrograph Chart Display
Swipe right to display the “Vibrograf” chart, historically used by watchmakers where each dot represents a tick or a tock over time and formed of two lines.
If the watch tends to run faster, the slopes are positive. If the watch tends to run slower, the slopes are negative. If the watch is perfectly accurate, the chart displays flat lines.
In case the watch has no beat error, the two lines are superimposed. If the beat error is greater than 0.0ms, the lines are spaced. The bigger the beat error, the larger the space between the lines.
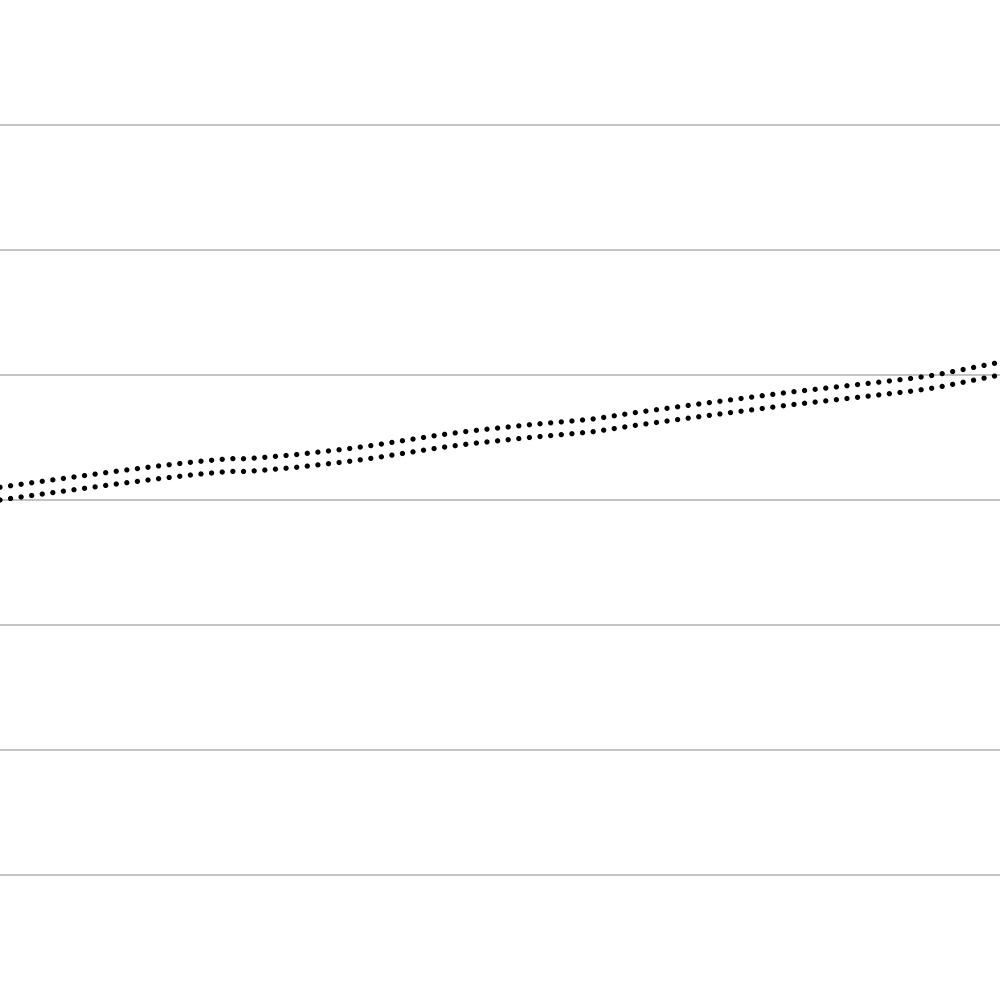


Track the Results with the Cumulative Charts
It is often interesting to check how both the accuracy and the amplitude vary over time.
Some particular and natural fluctuations might appear, like the impact of defects in the gear train, the drop of the amplitude during the change date, or more generally the variation of the rate accuracy over the entire power reserve of the watch.
Adjusting the Sensor Sensitivity / Gain
In rare cases, the sensor input gain, or sensitivity, needs to be adjusted in order to improve the measurement stability. It usually happens with very noisy movements, mainly 2.5Hz vintage ones, or when the measurement is done in a noisy environment.
Touch the 3 dots button located on the top navigation bar, then touch the Gain button. A slider appears below the signal escapement. Adjust the gain accordingly in order to obtain the 3 peaks.
Save and Export Data
The accuracy of the watch is displayed at the top of the screen after 2 to 60s, depending on the time integration chosen in the settings.
The accuracy of the watch is displayed at the top of the screen after 2 to 60s, depending on the time integration chosen in the settings.